
video tutorials for social media
How to Create SRT File for Video Subtitles Easily
While there are many different types of file formats you can use to add subtitles to your videos, SRT files stand out as the most popular. Major platforms like Facebook and YouTube also use SRT files for captions, as they are known to increase accessibility and improve SEO results.
However, creating an SRT file for a video is not always easy, especially if you are not aware of the right tool and technique for it.
Therefore, the goal of this article is to discuss the complete process of how you can create SRT files for video subtitles quickly and easily.
Table of Contents
- Overview of an SRT File
- How to Create an SRT File Automatically?
- Video Tutorial to Create an SRT Subtitle File
- How to Create an SRT Subtitle File Manually?
- Conclusion
- FAQs
Overview of an SRT File
SRT stands for SubRip Subtitle. It is similar to a plain-text file with subtitle information arranged in a specific format. Such files are not hard-coded in the videos, so you have to create them separately from your video content.
The key components of an SRT file are:
1. Subtitle text
2. Time codes
3. Subtitle sequences.
Here’s an example of an SRT file:

How to Create an SRT File Automatically?
Creating an SRT file manually is definitely possible as long as you follow the correct pattern, like in the example above.

However, in order to save time and, most importantly, ensure accuracy, you should use an AI-powered subtitle generator. Here’s how!
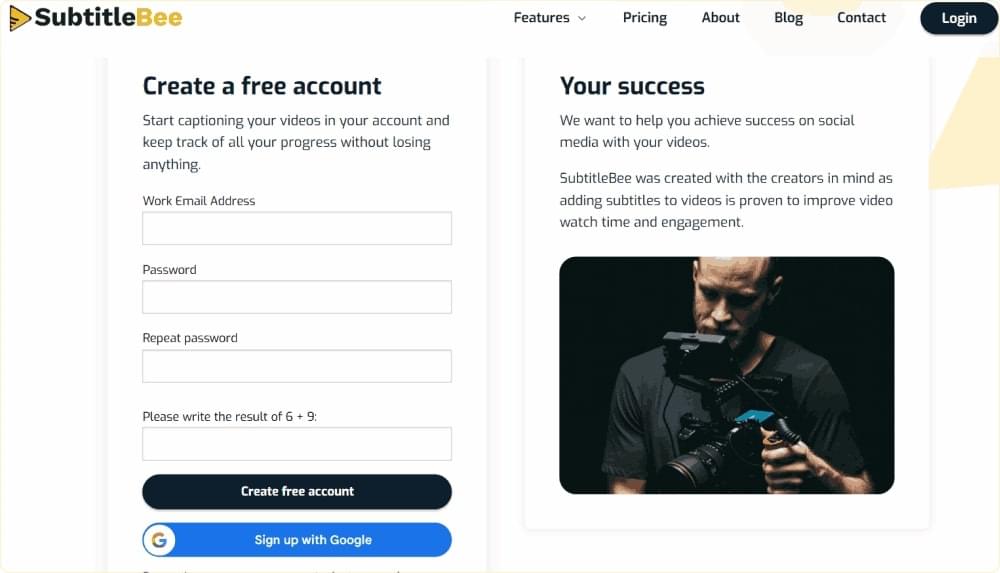
Step 1: Sign-up on SubtitleBee
Open SubtitleBee’s website and go to the sign-up page. Add the relevant information to create your account and choose a subscription plan based on your needs. Once done, log in to access the dashboard.
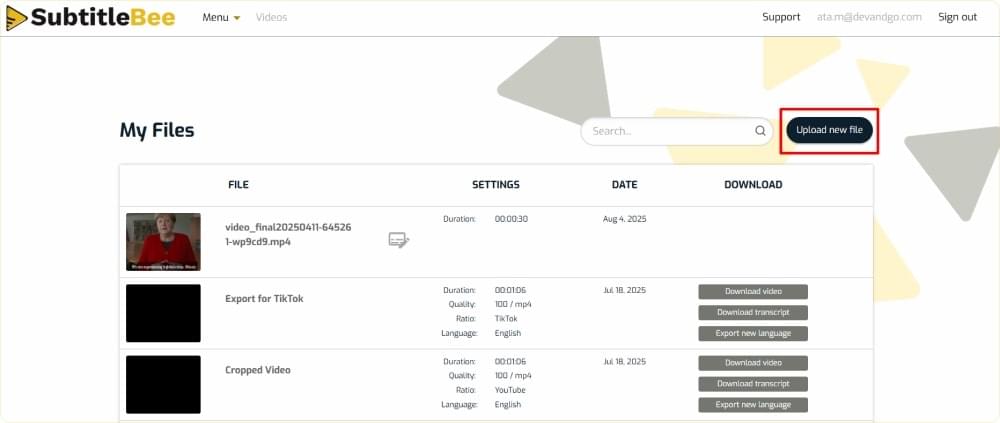
Step 2: Choose to Upload New File
SubtitleBee supports all major file formats, so you can easily upload your video and audio files to SubtitleBee. Click on the Upload new file on the dashboard.
Step 3: Select Language
Select the media language of your uploaded content. Make sure you are choosing the right language so that SubtitleBee’s AI algorithm can analyze and generate accurate subtitles for the SRT file.
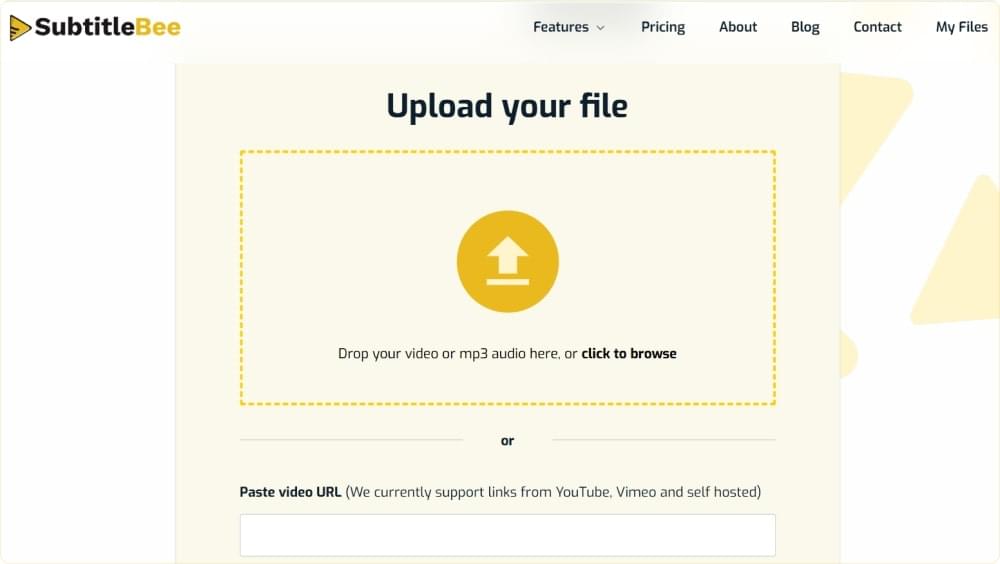
Step 3: Upload Your Video
Upload your video file through drag-and-drop or using the browse option. You can upload a file of up to 5 GB, but you are likely to get more accurate results if your video file is short and under 1 GB.
Step 4: Analyze the Subtitles
SubtitleBee’s AI algorithms will analyze the video and generate the subtitles automatically. View the generated subtitles and make any edits, if necessary.
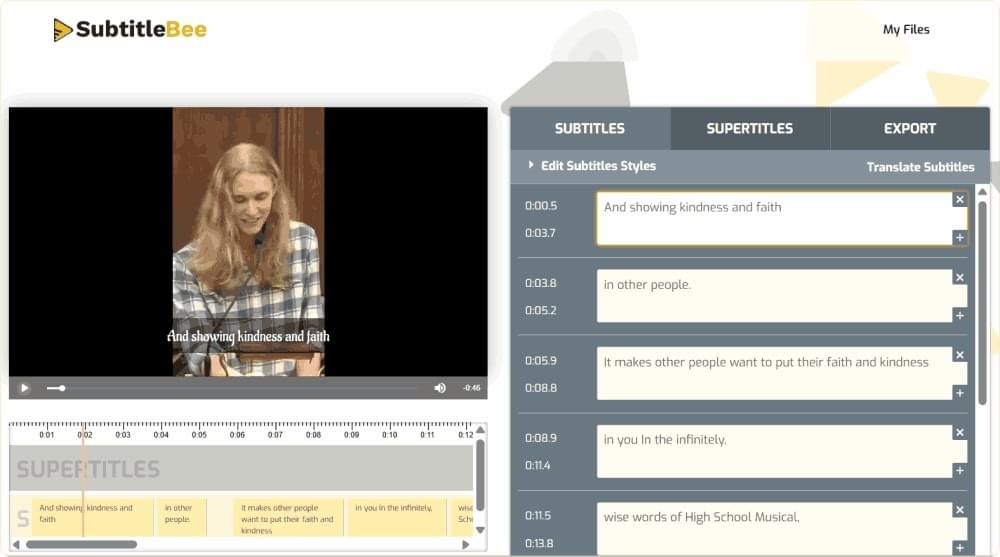
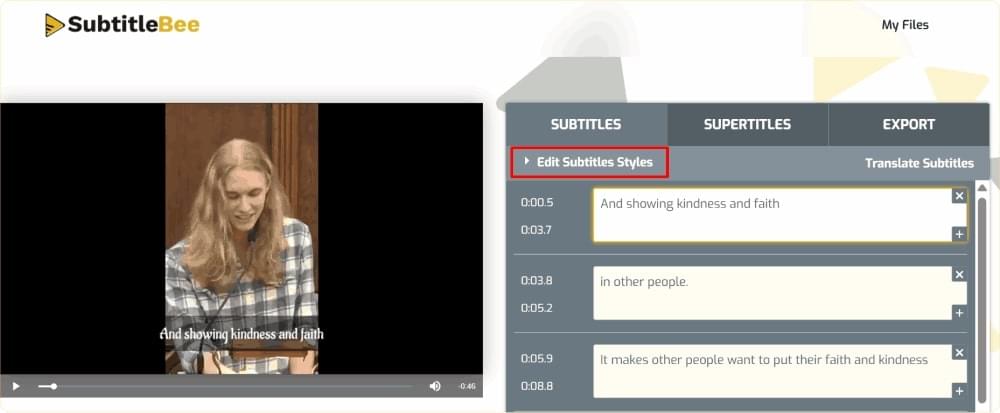
Edit Subtitle Style (Optional)
You can use the Edit Subtitles Styles option to modify the appearance of captions.
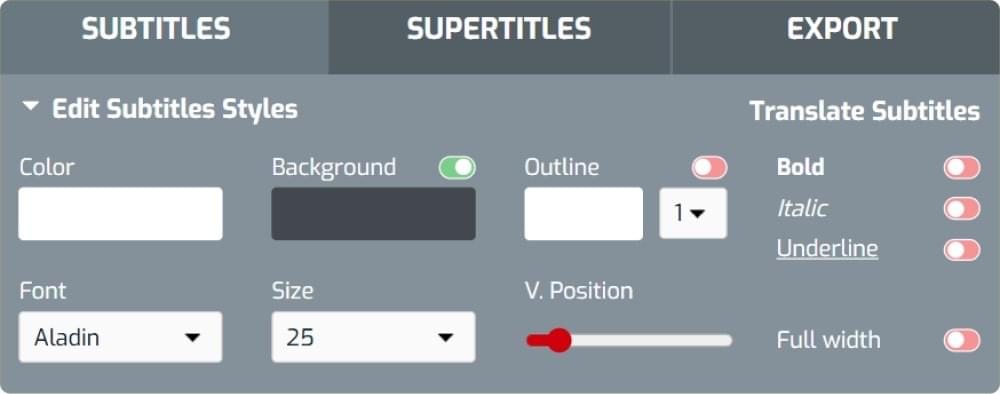
SubtitleBee offers multiple styling options to modify subtitle color, font, size, background, add outline, edit position, and overall appearance.
Step 5: Export and SRT File
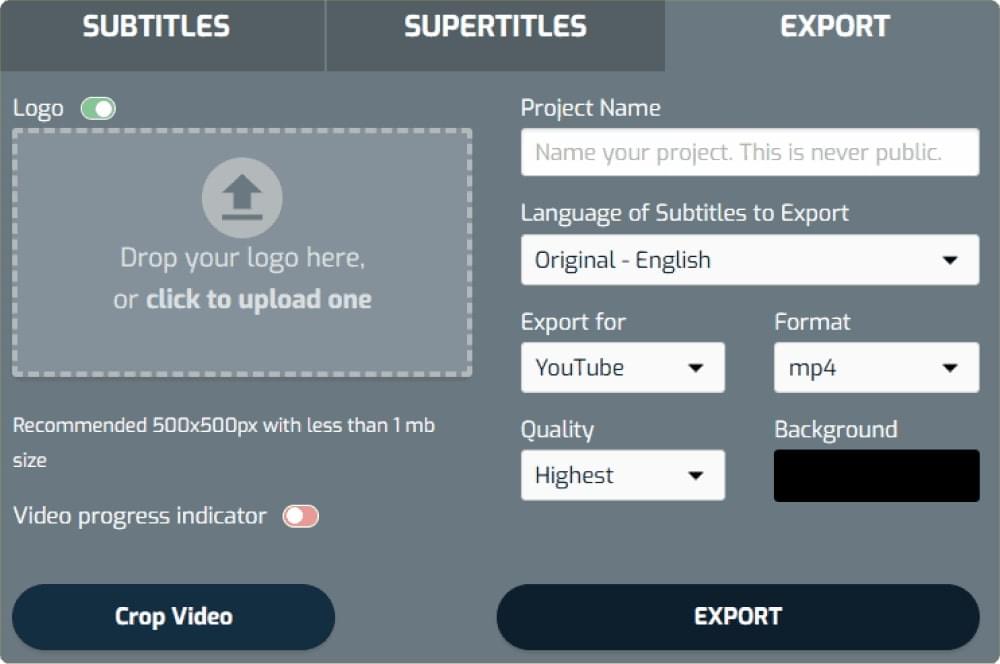
Once you have added and styled the subtitles, go to the Export option and save your video. You can name your project, add a logo, or resize the video before exporting it.
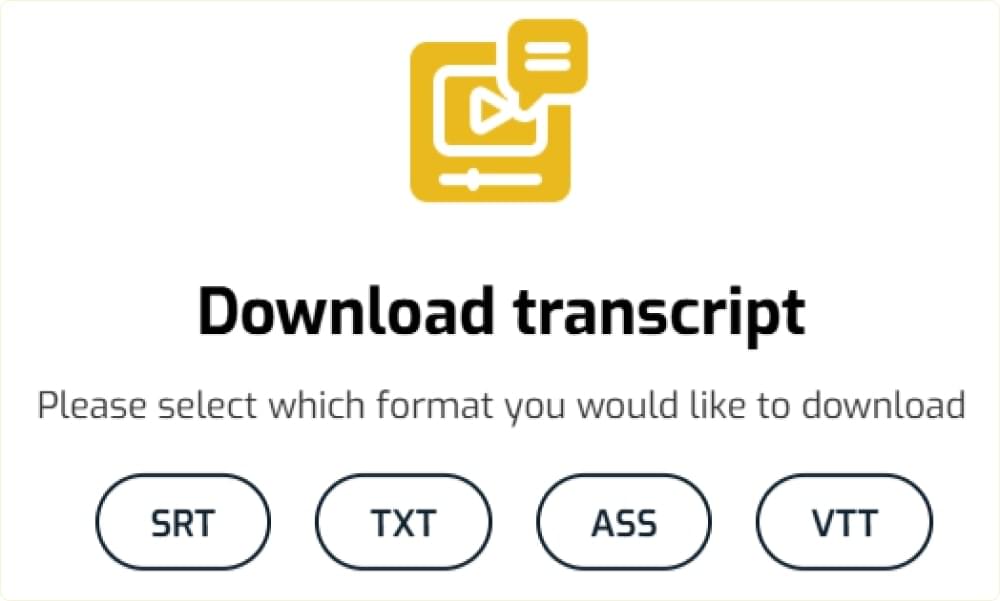
Now you can also download the subtitle file separately in SRT format. All you need to do is click on the Download Transcript button on your dashboard. Select the format in which you want your subtitle file to be, such as SRT.
Note: You can use the free trial of SubtitleBee to try out the interface and generate subtitles for a short video. But you won’t be able to download the captioned video or SRT subtitle file in the free trial. So, if you want access to these advanced features, you’ll have to upgrade to a paid plan.
Also read: How to Create a VTT File for Subtitles | Top 2 Methods

Video Tutorial to Create an SRT Subtitle File
Here’s the complete video tutorial of how you can create an SRT subtitle file in SubtitleBee:
How to Create an SRT Subtitle File Manually?
Other than using automated software like SubtitleBee to create SRT files for videos, you can also do it manually. But keep in mind that manual SRT file creation requires a lot of time, and this approach is highly vulnerable to human errors.
Here’s how you can create an SRT file manually on Mac or Windows using a simple text editor:
1. Open Notepad (Windows) or TextEdit (Mac). Create a new file.
2. Start by writing “1” to indicate the first subtitle sequence.
3. Now, start a new line and enter the start and end time codes in the right format e.g. 00:00:01,000 –> 00:00:04,000.
4. Press Enter to go to a new line and type the text (caption) you want to appear on screen during the stated time frame. It is recommended that you keep the subtitle short, within 35-42 characters.
5. Insert a blank line between captions by pressing Enter. Type 2 to start the next sequence and repeat the same steps.
The following image shows an example of an SRT file created in Notepad:

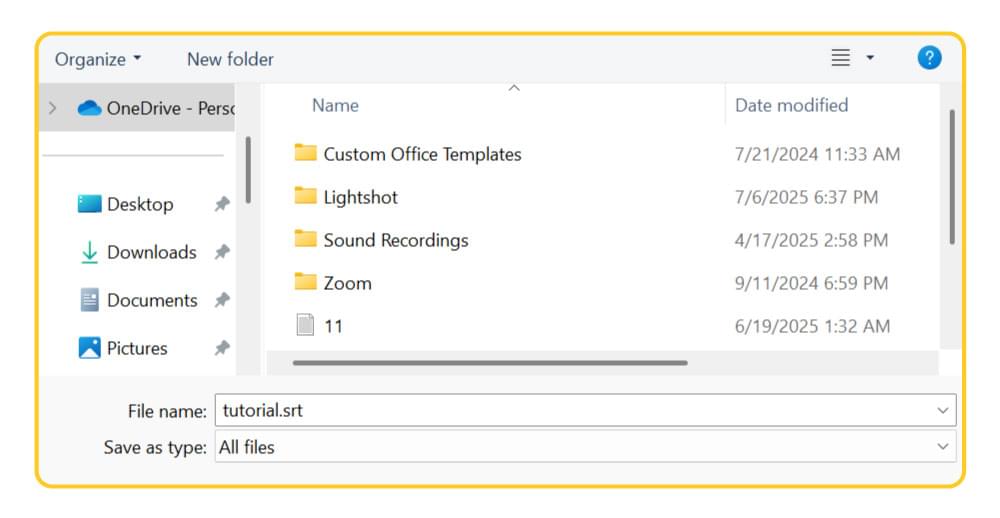
Once you have added all the subtitles in the correct format, go to File > Save As. Enter your filename and add .srt at the end, and change the Save as type to All Files and click Save to save the SRT subtitle file.
Conclusion
Creating SRT files used to be a difficult and time-consuming process, but with AI subtitle generators like SubtitleBee, the entire process can be completed within a few minutes.
While there is always the option of creating an SRT file manually, you should try out the subtitle generator to save time. All you need to do is upload your video, verify the generated subtitles, and download the transcript in SRT file format.
FAQs
1. What is an SRT file and why is it important?
A SubRip Subtitle (SRT) file is a plain text file. It contains time-coded captions for videos and is used to display subtitles in sync with spoken dialogue. An SRT file is important to improve accessibility, engagement, and SEO performance.
2. Can I create an SRT file in MS Word?
Yes! You can create an SRT file in MS word by creating a blank document and using the following format for each subtitle block:
1 | 1 |
Add a blank line between each subtitle block and keep the text short between 35 to 42 characters. Save the file with the .srt extension. You can check the SRT subtitle file in any media player, such as VLC Media Player, to ensure it is perfectly synced.
3. How to Upload an SRT File to YouTube?
Once you have created an SRT file manually or using SubtitleBee, you can easily upload it to YouTube via YouTube Studio. Access the Subtitles section and upload your SRT file. You can review the subtitles within YouTube Studio before publishing them to your channel.
4. How to Add SRT Files to Facebook Videos?
Open Meta Business Suite and navigate to Captions/Subtitles under the editing options., Choose to Upload .srt and ensure your file complies with Facebook’s naming convention (e.g. filename.en_US.srt). Preview the video, along with the SRT file, and click Publish.

5. What Can I Do if My Subtitles are Out of Sync?
Your SRT subtitle files can get out of sync due to formatting or timing errors. In such a situation, it is important to double-check your timestamps and ensure there are no extra spaces or missing lines between subtitle blocks.
6. What are the best practices for writing subtitles in SRT files?
Some of the key best practices and SRT formatting tips you should follow are:
- Always save the SRT files in UTF-8 encoding. It will also help you avoid encoding problems in SRT files.
- The duration of each subtitle should be 1.5-6 seconds only
- Break text at punctuation marks or natural pauses
- Each line should have only 35-42 characters
- Add speaker labels when multiple people are speaking
- Include non-speech cues, such as [applause], for higher accessibility
7. Can AI Tools Generate SRT Files Automatically?
Yes! SubtitleBee is a reliable AI-powered tool that automatically generates SRT subtitle files from both audio and video content. It has an accuracy of over 95% and supports 120+ languages, so you can quickly generate ready-to-upload SRT subtitle files.
Add and translate your subtitles to more than 100 languages with high accuracy


