

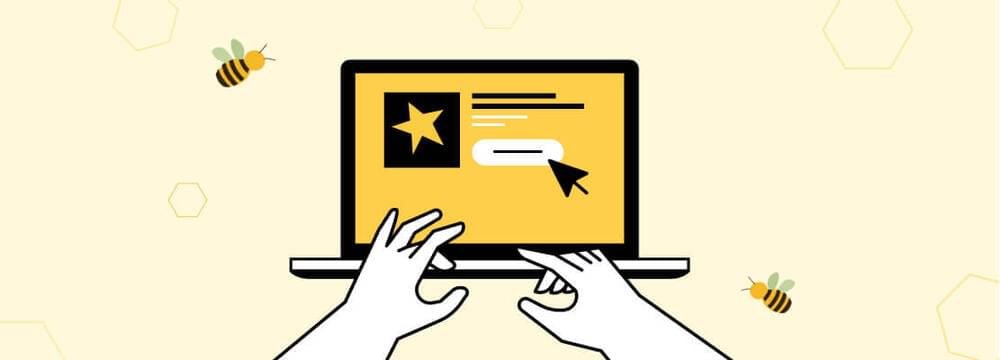
benefits of subtitles in video
How to get a transcript of a YouTube video
Transcripts and subtitles have played a significant part in the entertainment for a long time now. In fact, most people rely on subtitles to watch movies or shows. Wondering from where and how to get transcript of YouTube video? read this blog till the end to find out! According to a study by Netflix, 80% of people use subtitles and captions at least once a month, especially Gen Z. To be sure, these statistics would be different or higher for disabled people. Perhaps this is why the need for subtitles and transcripts exceeds beyond the entertainment world—they are literally needed in every field of life now.
Transcripts are not just for disabled people; they have become a necessity in today’s world. YouTube video transcripts can significantly impact the reach of content creators, digital marketers, and business strategists who want to promote their content on YouTube.
Option 1: Use YouTube’s built-in transcription tool
YouTube has its own built-in feature for automatically generating captions and subtitles for videos. If you don’t have any other tool available, you can use this option to generate subtitles in any language in a few minutes. It is completely free.
YouTube’s transcription feature can generate subtitles through speech recognition tech, but you cannot fully rely on it. It offers extraction of transcripts once they are generated. Since the accuracy/quality of the text can be a little off, you may be required to make some tweaks in the text before sending it off. Just because of the sound quality or background noise.
- First you have to log into your YouTube account and go over to YouTube Studio. Select Subtitles from the left sidebar icon shown on number 4.

- Select the video you want to create subtitles for from the list of videos in your channel.

- Following the next screen, select the desired language and select Confirm.

- After clicking on confirm you’ll see that YouTube will automatically generate its transcription. You can edit the text if there are some mistakes in it. To edit the text, select Duplicate and edit

- Following the command will open a dialog box where you can edit the YouTube transcription. Once you are satisfied with the content, press the publish button.
Go to the video page and press the ellipsis at the bottom of the video. Press Open Transcript and see the transcript at the right of the video you created. You can also check the transcript once it’s published from the video page.
You will observe YouTube video transcription lacks proper punctuation. All words are in lowercase. Therefore you will have to change the punctuation, grammar, and lower cases manually, which can be a boring task if you have to generate several videos on a daily basis.
If YouTube can’t create subtitles for some videos, it might be due to poor audio quality or an unsupported language. While YouTube video transcription tool is useful for content creators, it often requires manual editing before publishing. Plus, it doesn’t support many languages. For a global audience, consider using an AI-based subtitle tool that offers 90% accuracy in over 100 languages.
Option 2: Use Third-Party Tools for transcript
AI transcription tools are fast, efficient, and save both time and money. They are used for creating transcripts for various content like YouTube, podcasts, blogs, social media posts, infographics, and newsletters. These tools make generating subtitles so easy that you can publish videos daily.
Thanks to advanced technology, amazing tech tools that can perform multiple tasks with a single click are not that costly now. Unlike older tools that charge per word, minute, or hour, modern tools offer more flexible and cost-effective pricing.
Use SubtitleBee to get accurate transcripts
SubtitleBee is an accurate and fast tool for YouTube transcriptions or transcription for any social media platform. It offers free transcription for videos up to 1GB and 10 minutes long, with 5 free fonts and subtitles in any language in the free plan. SubtitleBee provides subtitles in over 100 languages and includes a multi-translation feature to improve video accessibility and overcome language barriers for global audiences. You can test its accuracy with a free trial.
Here is how you can create a transcript for a YouTube video.
- Open the SubtitleBee website in your browser.

- Log in or create an account if you don’t have any and confirm it.

- Click to browse or upload the video/audio file button, and upload your video.

- Choose the language you want the transcript in and proceed.

- In your dashboard, you will see the text and timing of your YouTube transcript created by SubtitleBee.

- Edit any errors or word mistakes directly from the dashboard.

- If you wanna customize your font color, styling, and add headers for creativity you have the option for this as well.

- Once you are done with the editing and it looks good, proceed to export.

- Save and download the final video on your computer or mobile.

One of the greater benefits of this tool is its accuracy. It is intelligent enough to pick the words clearly with a little noisy background. Check out its prices plan; they are more affordable than other tools, offering multiple amazing features.
Option 3: Use video editors for video transcripts
Video editors are a versatile tool for creating YouTube video transcripts. Many video editing software options come with built-in transcription features that can convert audiovisual content into text, making it easier to create subtitles and captions for your videos. Here’s a simple guide on how to use video editors for generating video transcripts:
- Select a video editing tool that offers transcription capabilities. Popular video editors like Adobe Premiere Pro, Final Cut Pro, and others have these features.
- Upload your video into the editor and select the transcription or subtitle feature.
- Use the tool to convert audio to text. Be ready to correct any errors, especially if there’s background noise.
- Fix the mistakes in the transcript and customize the subtitles’ appearance to match your video’s style.
- Once everything looks good, export the video in the format you need.
These tools may not be very accurate due to background noise, and they often have limited language options. Make sure to choose a tool that supports the language you need for your transcript.
Option 4: Use Google Docs for the transcript
Are you aware that Google Docs can convert YouTube videos to text? If not, you may be aware of its built-in voice dictation tool that can get the job done of transcribing video into the text. However, this feature is only available on Chromium-based browsers like Google Chrome and Microsoft Edge.

There are two ways you can go about voice typing tools.
First, by turning on the Voice typing feature, play the video like you usually do, and let Google Docs do the rest of the job.
Nevertheless, there’s a chance that some background disruption may influence the ability of the voice tool to pick the right word.
To fix this, you’ll need to tweak some settings on your PC first.
This is where the second method comes in. Changing the sound setting of your PC will help Google Docs’ voice tool listen to audio-video content internally.
We’ll explain the second method here since the primary process is a subset of the second method. Let’s peek into both ways to get going with text conversion.
- On Windows 11, press Ctrl + I to initiate the Settings app, lead to System > Sound > All sound devices > Stereo Mix, and press Allow.
- Following this, go back to the Settings home screen and navigate to System > Sound > Volume mixer. Pick the Input device as Stereo Mix from the dropdown.
- (After these changes, the sound of the audio-video on your PC will be directly rerouted to a PC microphone—Google Docs.)
- Following this, open up a new Google Doc and select Tools > Voice typing.
- (Now you can play the YouTube video you want to convert to text.)
- You’ll see a mic icon appear or hover around the document. Press the mic icon when you want Google Docs to start listening and transcribing.
The important thing to remember is that you can’t leave the Google Docs tab while using the voice tool; otherwise, it will stop transcribing.
The stereo mix method will only require pressing the audio icon of the voice tool. For outer speakers, don’t place your device that plays over the voice too far or too close to speakers to maintain cohesion and accuracy.
One of the cons of the Google Doc Voice typing tool is that it gets stuck most of the time, which means it may stop voice typing itself or stop responding. Also, you need uninterrupted internet and out-class sound quality of the video to generate a transcription of the text.
The better the audio quality, the more accurate the transcription will be.
What are the benefits of having a transcript?
Transcripts offer numerous advantages that make your content more valuable and accessible to everybody. Here are some benefits listed:
- Transcripts ensure that people with hearing impairments can access your content, making it inclusive for everyone.
- Search engines can easily index text, improving your content’s search engine ranking and visibility. It can help lead to more traffic and higher engagement.
- Transcripts can be transformed into blogs, podcasts, social media posts, infographics, and newsletters. This allows you to reach a wider audience and increase conversions from various sources.
- Reading along with audio or video helps viewers better understand and retain information, making complex concepts easier to grasp.
- Users can quickly skim through the transcript to find key points without having to watch the entire video, saving them time.
- Transcripts provide an alternative way to review content without replaying the video, offering a better overall user experience.
- By catering to different preferences and needs, transcripts can significantly increase audience engagement with your content.
- Technology has made creating video content easier than ever. With transcripts, half the work is done, allowing for quick repurposing into other content formats and enhancing the overall content creation process.
Adding transcriptions and subtitles not only improves accessibility but also enhances the viewing experience. Making information more accessible to everyone, including those with disabilities. This comprehensive approach helps you reach a broader audience and ensures your content is effective and engaging.
Conclusion
In conclusion, getting transcripts for YouTube videos is essential for improving accessibility, and SEO. YouTube’s built-in transcription tool is a free and convenient option but often requires manual edits for accuracy. AI-powered tools like SubtitleBee offer more accurate and efficient transcription services in over 100 languages, making them ideal for global audiences. Video editors and Google Docs also provide transcription capabilities, though they may struggle with background noise and have limited language support. Overall, having transcripts enhances content accessibility, SEO, and engagement, and allows for easy repurposing into various formats, reaching a wider audience.


Add and translate your subtitles to more than 100 languages with high accuracy
Our solution
SubtitleBee
Make your video understandable by using SubtitleBee for free
Start now for freeTop Articles

Getting Started with AI-Powered SubtitleBee
3 Effective Ways To Add Subtitles To Video Online Without Watermark
VEED vs. Kapwing: Which Subtitle Generator wins?
Kapwing vs. SubtitleBee: Which subtitling tool should you choose?
5 Top Verbit Alternatives for Transcription